How to Design a Metallic Content Box
Step 1:
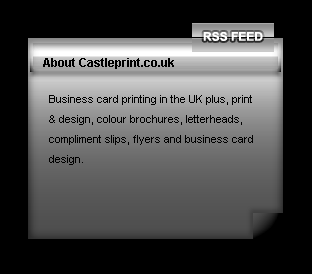
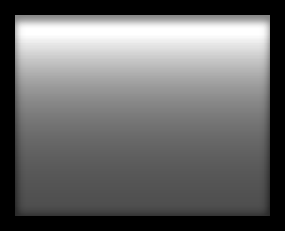
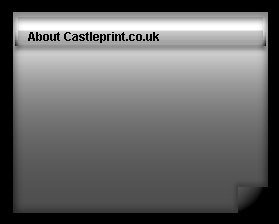
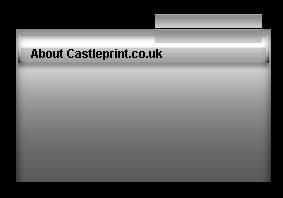
Let’s start out by creating a new file. I used a 500×400 pixels canvas set at 72dpi, and I filled my background with a black color. Now create a new layer set and name it ‘Metallic Content Box’. In a new layer draw a rectangle with 255×201 px dimensions and #4D4D4D color shade.
Step 2:
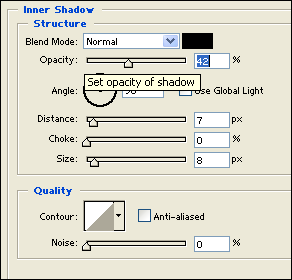
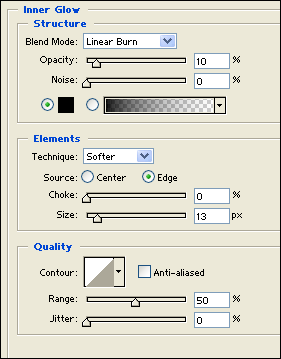
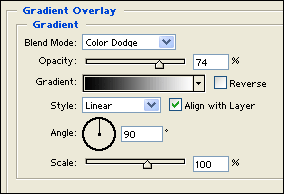
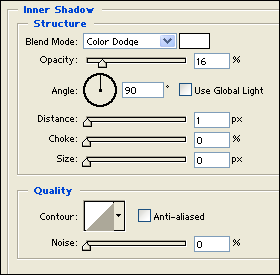
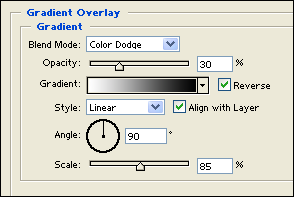
Under Layer Style(Layer > Layer Style) add an Inner Shadow, Inner Glow, and Gradient Overlay blending options to your dark gray rectangle layer.
Step 3:
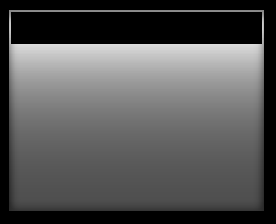
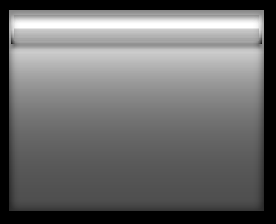
Now draw a black rectangle with 251×32 px dimensions along the top end of your content box.
Step 4:
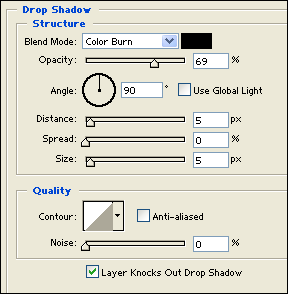
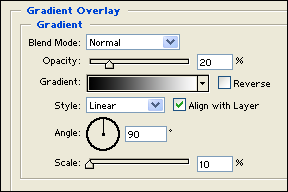
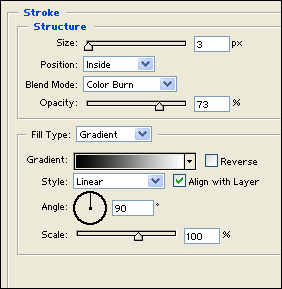
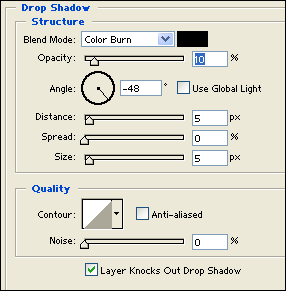
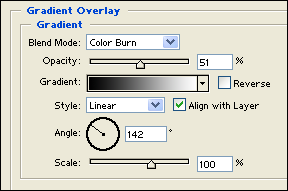
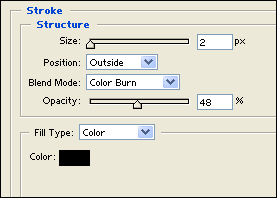
Under Layer Style(Layer > Layer Style) add a Drop Shadow, Gradient Overlay and Stroke blending options to your black rectangle layer. Then set the layer’s blending mode to Soft Light.
Step 5:
Create a new layer and draw a white rectangle with 30 x 26 px dimensions on the bottom right corner of your content box. Then under Layer Style(Layer > Layer Style) add a Drop Shadow and Gradient Overlay blending option.
Step 6:
Choose the Horizontal Type Tool and set the font family to Arial, bold, 12 pt, none and black color shade. In a new text layer type the name of your content box on the glossy rectangle.
Step 7:
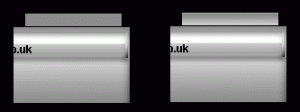
Create a new layer and draw a gray rectangle with #8D8D8D color shade and 106 x 14 px dimensions above the content box on the right end. Then under Layer Style(Layer > Layer Style) add an Inner Shadow and Gradient Overlay blending option.
Step 8:
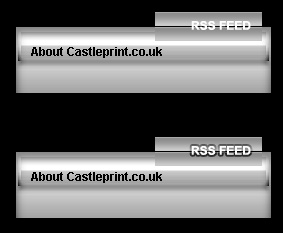
Duplicate the small rectangle design from the last step and position it down under to make a unique tab button.
Step 9:
Choose the Horizontal Type Tool and set the font family to Arial, bold, 12 pt, strong and white color shade. In a new text layer type ‘RSS FEED’ on the tab design above your content box. Then under Layer Style(Layer > Layer Style) add a Stroke blending option.
Results:



Leave a Reply