How to Design Custom Fitted Logos
Step 1:
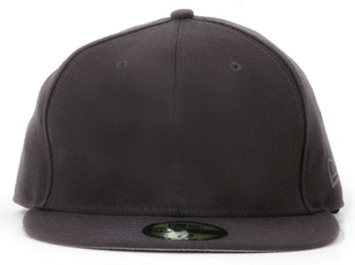
Let’s start out by creating a new file. I used a 500 x 500 pixels canvas set at 72dpi, and I filled my background with a white color. Save the blank fitted template below and insert into your canvas.
Step 2:
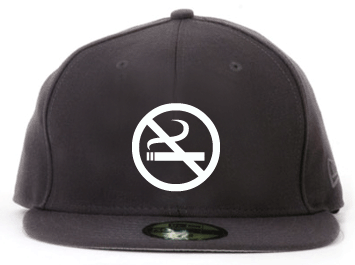
Now lets add a custom fitted using the Horizontal Type Tool. First set the font family to Wingdings, 110 pt, crisp and white color shade. In a new text layer type ‘z’ which is a ‘no smoking’ logo.
Step 3:
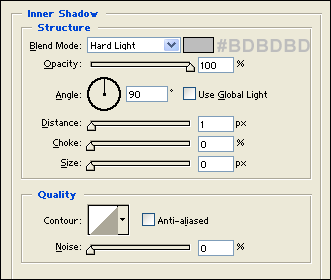
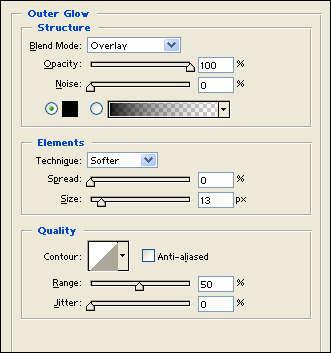
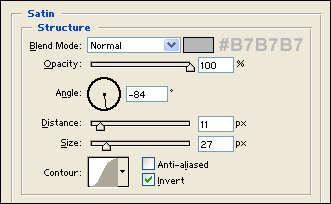
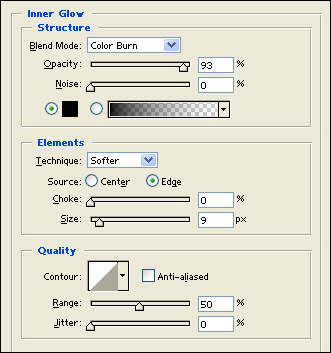
Under Layer Style(Layer > Layer Style) add a Drop Shadow, Inner Shadow, Outer Glow, Inner Glow and Satin blending options to your text layer. Then set the layers blending mode to Lighten.
Step 4:
With all that blending options added to your text layer the regular white logo should now blend into the fitted.
Step 5:
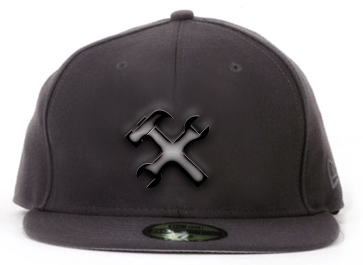
Here we have another fitted with a different logo. Type ‘@’ to get the icon on your text tool.
Step 6:
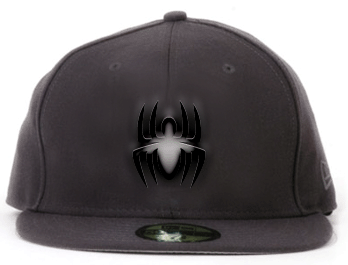
A spiderman fitted? ‘!’ on your text tool. You can experiment with different icons, the layer styles from step three will do the blending.





Leave a Reply